Managing Shared Reporting Server
The Shared Reporting Server allows multiple ViewerFX clients to share a common report repository. It allows administrators to load reports into a centralized location to be consumed by their users. Data source connection settings and parameter inputs can be defaulted so reports are accessed quicker and more securely.
Note: The Shared Reporting Server is installed separately — its installer adds tables to a SQL Server, and each ViewerFX client is then pointed at that location with credentials. The connection settings below have no effect until that installation exists.
To manage the connection to the Shared Reporting Server:
- On the ribbon, choose Report Viewer › View › Settings. The Settings window opens.
- In the Settings window’s Connections sidebar, choose Shared Database. (The Shared Database and Global Login cards are identical — same fields, same buttons — so the sidebar selection is what tells you which connection you are editing.)
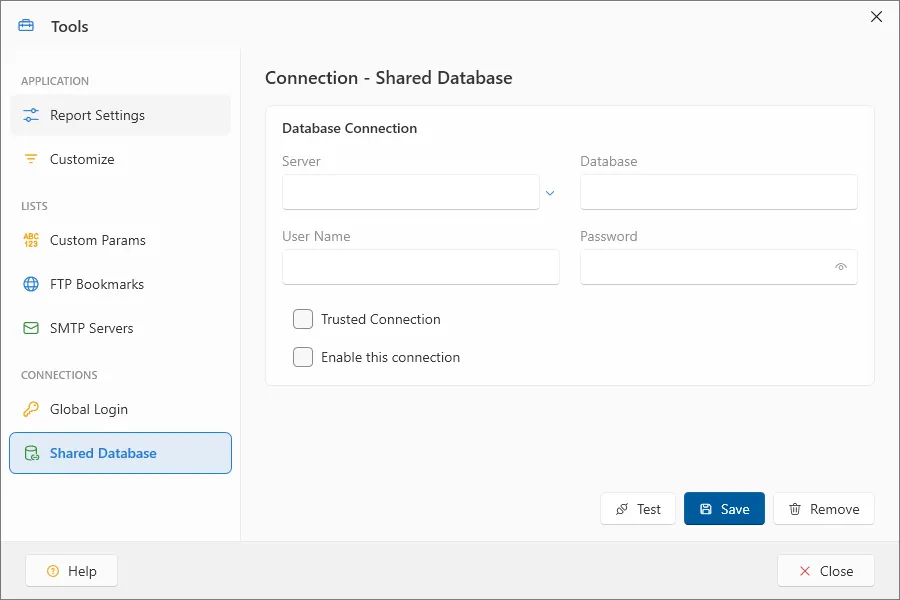
- Enter the connection settings for the Shared Reporting Server: the Server (or pick an ODBC data source), Database, User Name, and Password, or select Trusted Connection to connect with Windows authentication. Select Enable this connection.
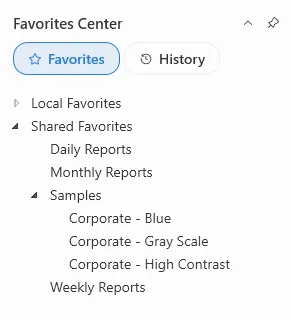
- Click Save. The Shared Reporting Server folders appear in the Favorites Center.